If you’re looking for ‘kids’ activities near me’ this summer and adore an arts and crafts project, how about making your very own soft toy tiger? While little ones will need plenty of instruction and supervision, older children might like to do large chunks of this project themselves. Here’s a step-by-step guide to making a roarsome creation.
Step 1: Choose and Prepare the Pattern
Choosing and preparing your tiger pattern is the most important part of this crafting activity as it’ll determine how your tiger will look when it’s finished. There are many free patterns available online and you’ll need to print and cut out all the pieces. This should include the body, head, legs, arms, tail and ears.
Step 2: Cut the Fabric
You then need to source coloured fabrics and trace the pattern onto the corresponding materials. Cut out the fabric pieces carefully. Keep in mind that you’ll need two fabric pieces for each part of the tiger, plus additional pieces for ear and belly details.
Step 3: Cut Out and Sew On the Stripes
A tiger wouldn’t be a tiger without its distinctive black stripes. So cut out the desired number of stripes and pin onto the orange fabric. Use a sewing machine to attach them securely. Zig zag or straight stitch works best for this. You can also hand sew the stripes, but this is a time consuming process.
Step 4: Assemble the Body and the Head
It’s now time to start piecing your tiger creation together. Carefully pin the two body pieces together - the sides with the stripes on should face inwards so the stitching can be hidden. Sew around the edges leaving an opening for the stuffing. Turn the body the right side out so you can see the stripes again. Repeat for the head.
Step 5: Add Details
Now is the time to add details to the face and body. Sew a white belly to the tiger and attach eyes or buttons to the face. You can then embroider the nose and mouth using embroidery floss. Use wool for the whiskers or embroider these too.
Step 6: Sew the Limbs and Tail
Sew the limbs and the tail together like you did the head and body. Stuff with fiberfill and sew up the openings.
Step 7: Put the Tiger Together
Stuff the body and head and sew up the openings. Your tiger should really start to look more alive now. Carefully hand sew the head to the body and attach the limbs and tail. Think carefully about the positioning of each limb so that the tiger looks as realistic as possible and isn’t wonky.
You can then secure all seams if needed and add any unique touches such as a scarf, hat or a bow tie. It’s your project so decide if you want any further details.
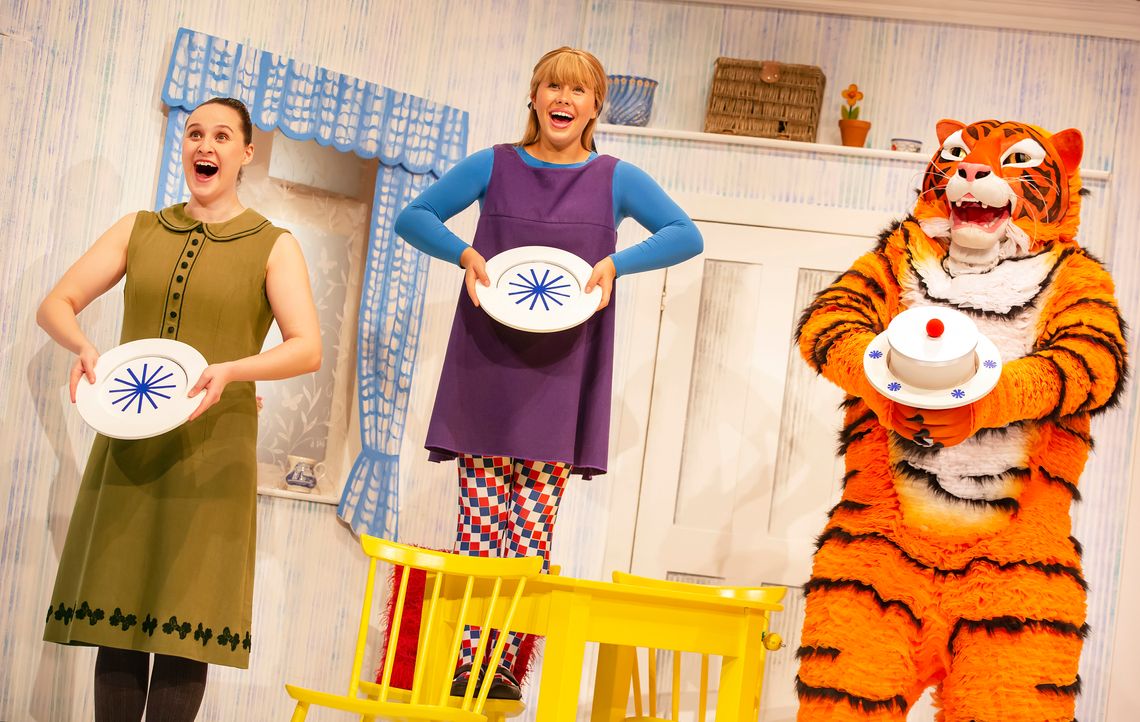
If your children love tigers and you’re looking for things to do with kids, don’t miss the UK tour of The Tiger Who Came To Tea. Based on the popular children’s book of the same name, this is a must-see for families. When searching for ‘things to do with kids near me,’ this show is definitely worth a watch.
The web browser you are using is too old to view this site. Please update your browser or use the current version of Microsoft Edge, Firefox, Chrome or Safari. Thank you!